2 - シーンとプレイヤー
概要
ここでは、プロトタイピング用のコンポーネントを含むシンプルなシーンのセットアップと、プレイヤーのプレハブの作成方法を説明します。この章で、各クライアントのプレイヤーオブジェクトがスポーンできるシーンを動作させる方法を学びます。
シーンのセットアップ
まず空のシーンから始めましょう。Unityのヒエラルキータブを右クリックし、Fusion > Scene > Setup Networking in Sceneを選択します。

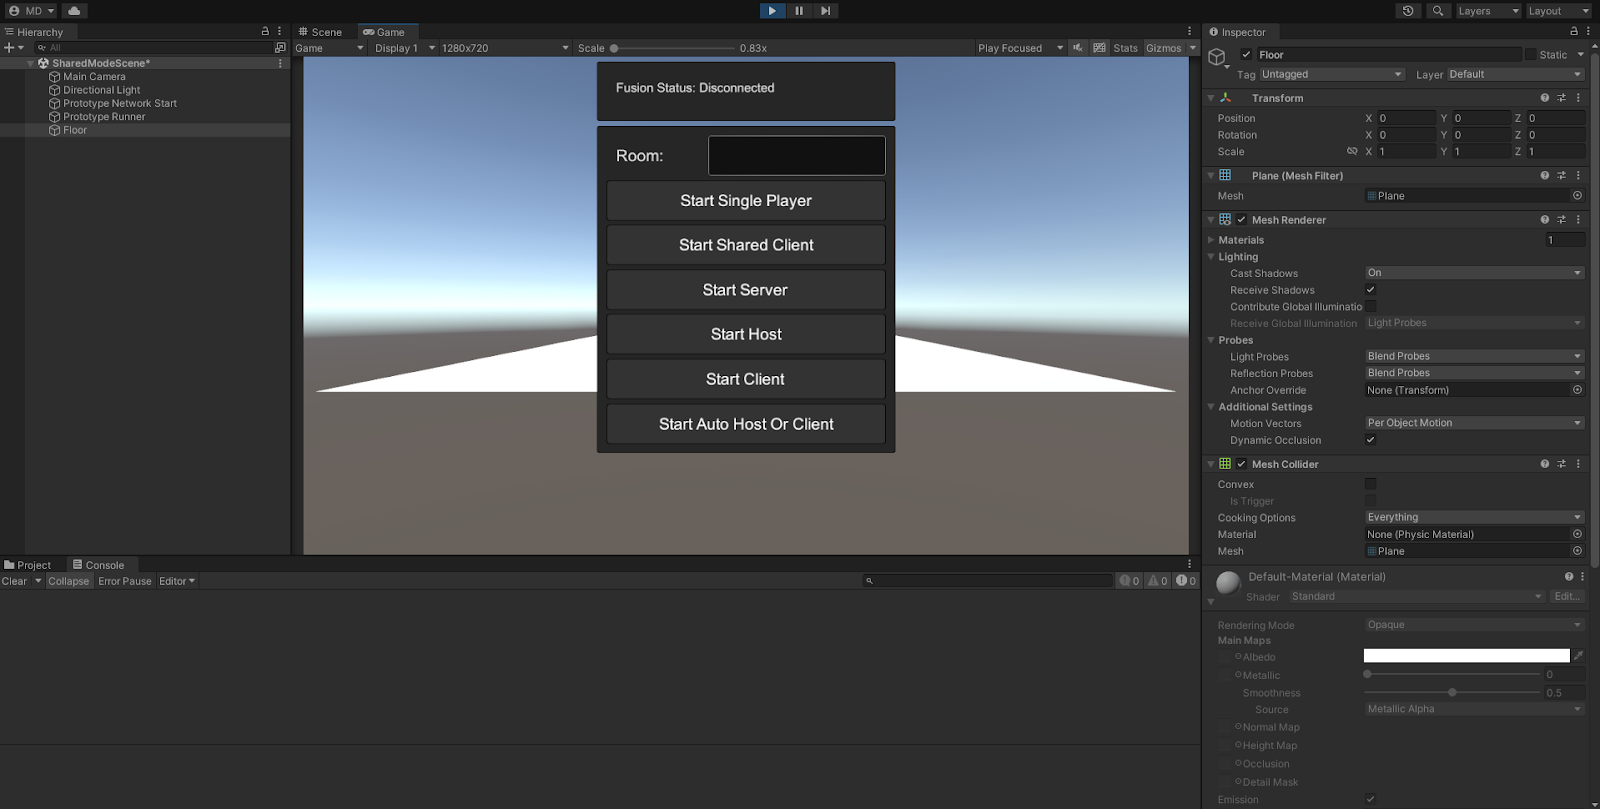
これでシーンにPrototype RunnerとPrototype Network Startが追加されます。

Prototype Runnerに含まれるNetworkRunnerは、Fusionのシミュレーションを実行するコアコンポーネントです。またNetwork Eventsスクリプトによって、プレイヤーのセッションへの参加や退出などのイベントを簡単に独自実装を紐づけることができます。Prototype Network Startはプロトタイピング用のコンポーネントで、Fusionのセッションに素早く参加するためのブートストラップのGUIが含まれます。
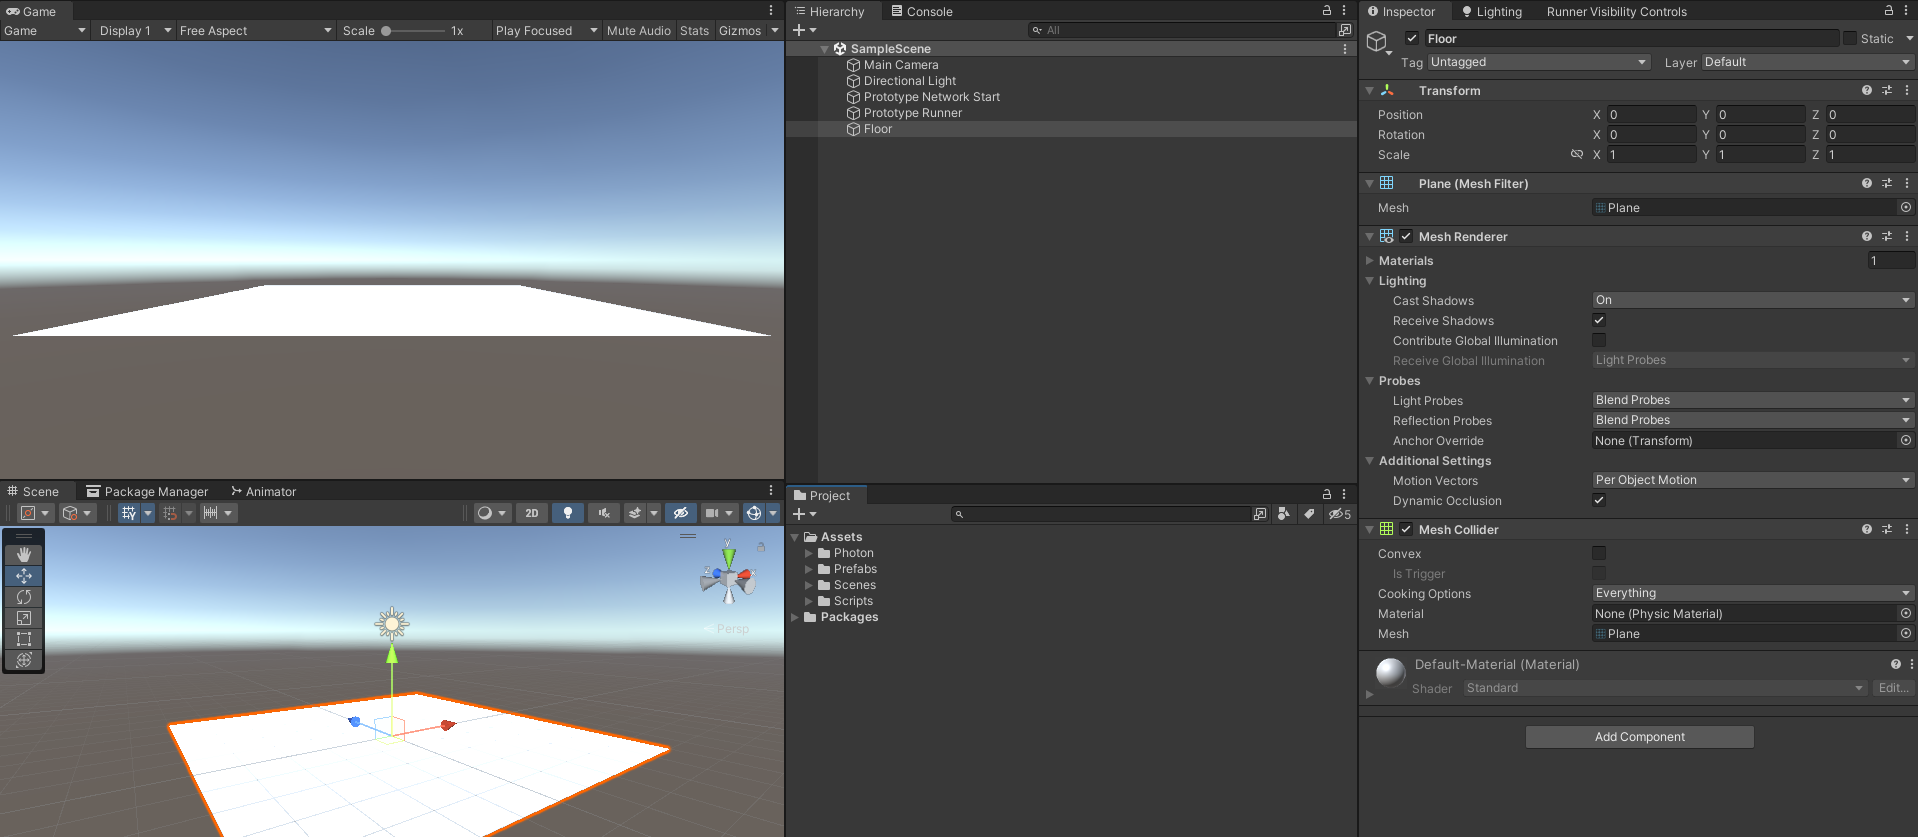
次にシーンに床を追加しましょう。Unityのヒエラルキータブを右クリックし、3D Object > Planeを選択し、名前をFloorにして、位置を(0, 0, 0)にリセットします。

これでシーンのセットアップは完了です。
プレイヤープレハブの作成
次にプレイヤーオブジェクトを作成します。 ヒエラルキーで右クリックし、3D Object > Capsuleを選択し、名前をPlayerCharacterにします。
上記にNetworkObjectコンポーネントを追加します。このコンポーネントによって、ゲームオブジェクトにはネットワークIDが付与され、全てのピアがそのオブジェクトを参照できるようになります。
さらにCharacterControllerコンポーネントを追加します。これは後でプレイヤーキャラクターを移動するコードを記述するために使用されます。
最後にNetworkTransfomrコンポーネントを追加します。NetworkTransformによって、オブジェクトの位置が自動的に他のクライアントへ同期されます。
PlayerCharacterをProjectウインドウにドラッグしてプレハブを作成した後、オブジェクトをシーンから削除してください。これでプレイヤーキャラクターをスポーンする準備が完了しました。
プレイヤーのスポーン
マルチプレイヤーゲームでは、プレイヤーごとにキャラクターをインスタンス化したいことも多いでしょう。シングルプレイヤーゲームとは異なり、インスタンス化は特別なRunner.Spawnメソッドで行われ、全員のプレハブのインスタンス化を処理します。
プレイヤーキャラクターをスポーンする適切なタイミングは、クライアントがセッションに参加した時です。そのためにカスタムスクリプトが必要です。PlayerSpawnerスクリプトを作成して開き、以下のコードを追加してください。
C#
using Fusion;
using UnityEngine;

public class PlayerSpawner : SimulationBehaviour, IPlayerJoined
{
    public GameObject PlayerPrefab;

    public void PlayerJoined(PlayerRef player)
    {
        if (player == Runner.LocalPlayer)
        {
            Runner.Spawn(PlayerPrefab, new Vector3(0, 1, 0), Quaternion.identity);
        }
    }
}
スポーン処理は非常にシンプルです。SimulationBehaviourを継承するとNetworkRunnerへアクセス可能になり、そこには現在のセッションのすべての情報(ローカルプレイヤーのIDを含む)が保持されています。
IPlayerJoinedインターフェースにはPlayerJoinedメソッドがあり、そのスクリプトがNetworkRunnerと同じゲームオブジェクトにあるなら、プレイヤーがセッションへ参加するたびに呼び出されます。これはプレイヤー自身の時だけでなく、他の(異なる端末の)プレイヤーがセッションへ参加した時にも呼び出されます。
Runner.Spawnでスポーンしたオブジェクトは、自動的にその他全てのクライアントでもスポーン(レプリケーション)するため、ローカルプレイヤーが参加してPlayerJoinedが呼び出された時のみスポーンを行ってください。
PlayerSpawnerコンポーネントをPrototype Runnerに追加して、PlayerCharacterプレハブをPlayerPrefabにアタッチします。
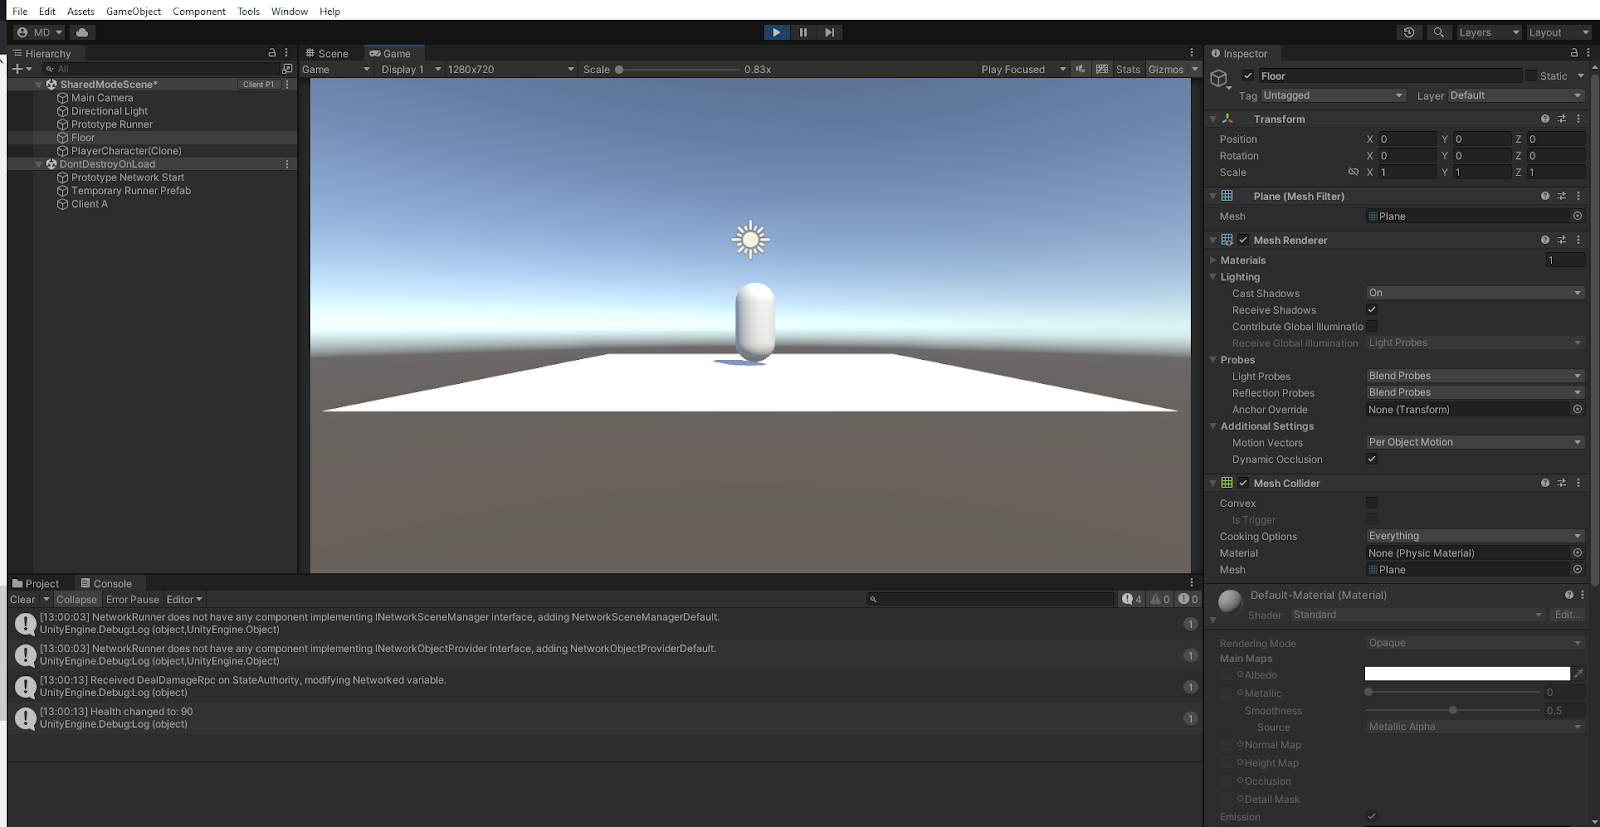
これでプレイヤーをスポーンする準備が完了しました。ゲームを実行しStart Shared Clientを押して、共有モードでFusionを開始します。

シーン上にはプレイヤーが表示されますが、まだ移動するなどの操作は一切何もできません。次の章では、プレイヤーの移動を実装することで、プレイヤーに命を吹き込みます。
