2 - プロジェクトの準備
概要
ここでは、Quantumプロジェクトの準備に必要となる最初のステップを説明します。
ステップ0 - アカウントの作成
もしまだアカウントがなければ、こちらからPhotonアカウントを作成してください。
ステップ1 - SDKのダウンロード
Qunatumを使い始めるには、SDKのダウンロードページから最新SDKをダウンロードしてください。
SDKの要件は、ダウンロードページにあります。
ステップ2 - 空のプロジェクトの作成
空のプロジェクトを作成してください。
注意: Quantumは、特定のレンダリングパイプラインに依存しません。どれでも動作しますが、このチュートリアルでは空の2Dプロジェクトを作成します。

ステップ3 - Quantum SDKのインポート
SDKは.unitypackageファイルで提供されているので、Assets > Import Package > Custom Packageか、ファイルを開くことでインポートすることができます。SDKをダウンロードした場所に移動して、インポートを行いましょう。
ステップ4 - Quantum Hub
Quantum SDKをインポートすると、Quantum Hubウインドウが開きます。ウインドウが自動的に開かなければ、UnityメニューのQuantum > Quantum Hubから手動で開くことができます。
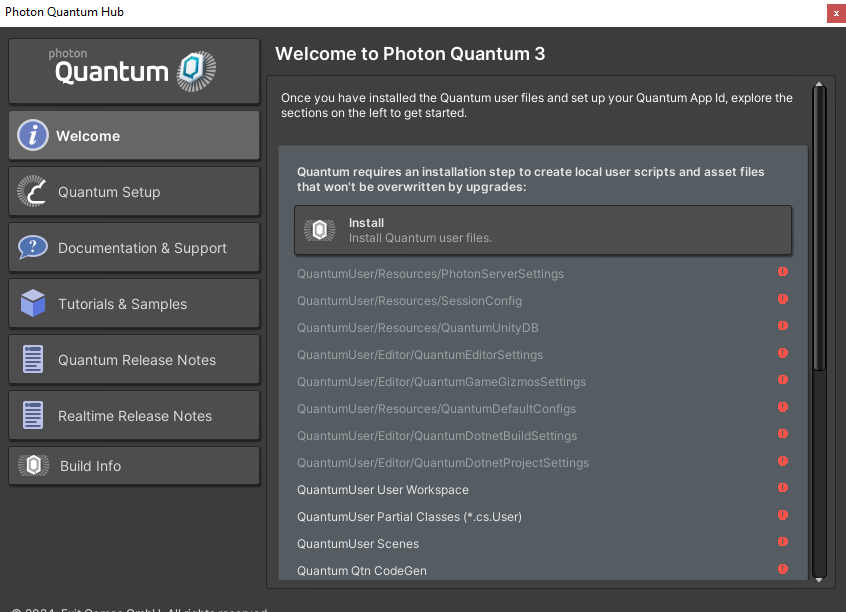
最初のページでInstall Quantum User Filesボタンを押してください。Quantumが使用するデフォルトの設定ファイルが生成されます。
ステップ5 - Quantum AppIDの作成と紐付けCreate and Link a Quantum AppID
Quantumアプリケーションを、ローカルのオフライン開発ではなくオンラインで実行できるようにするためには、実行するアプリをQuantumプラグインに紐づける必要があります。そのために、まずダッシュボード右上の新しくアプリを作成するボタンを押してください。

作成メニューでは、Photonの種別のドロップダウンメニューでQuantumを選択します。
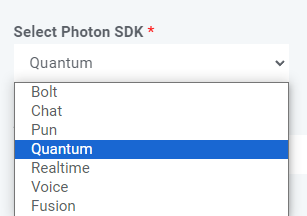
Select SDK VersionドロップダウンでQuantum 3を選択し、フォームの残りの項目を記入したら、作成するを押しましょう。

ダッシュボードには新しいQuantumアプリが表示されます。これを実際のアプリと紐づけるには、アプリのApp IDをコピーする必要があります。フィールドをクリックするとApp IDが表示され、コピーできるようになります。
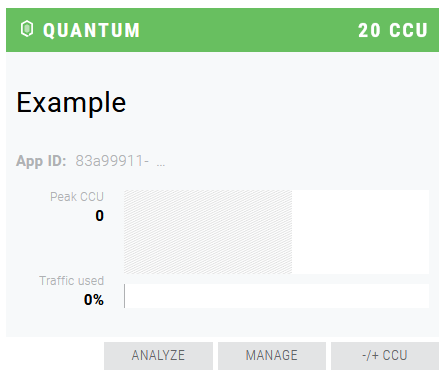
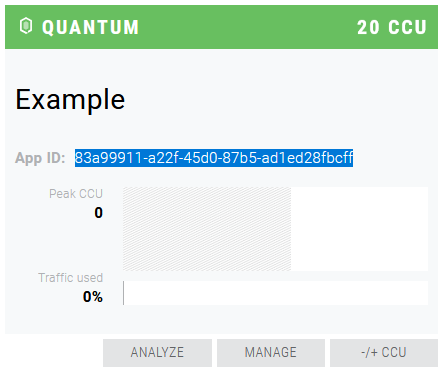
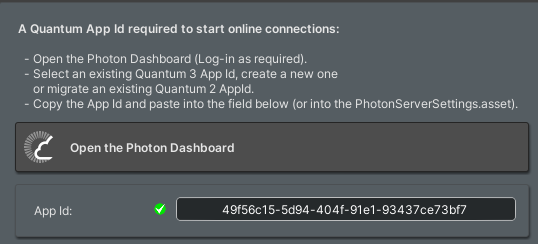
Quantum Hubに戻り、App IdフィールドにApp IDをペーストします。これでプロジェクトの開発準備は完了です!
ステップ6 - Navigating the Quantumプロジェクト
開発を始める前に、インポートしたファイルを軽く見てみましょう。
Quantumはゲームエンジンのため、他のSDKよりも複雑に絡み合っています。すべてのファイルは、PhotonとQuantumUserフォルダー内にインポートされ、厳密なフォルダー構造に従います。フォルダー構造を変更したり、Quantumのファイルを他の場所に移動したりしないようにしてください。
Quantum SDKに含まれるフォルダーの詳細はこちらをご覧ください。
Back to top