PUN Voice Demo
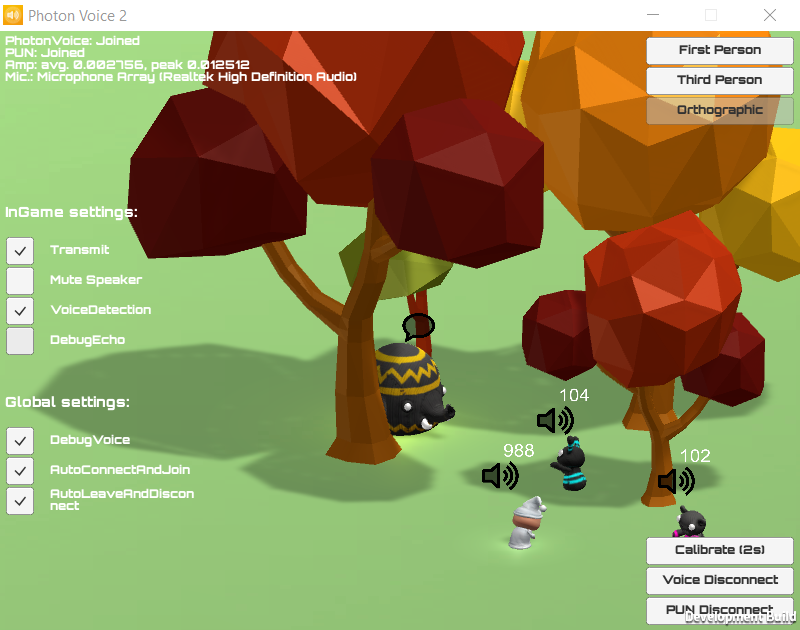
The PUN Voice Demo is a simple four-player mobile friendly game where players can talk to each other.
Other than matchmaking, the game has 4 different playable characters and 3 different camera views.
The demo is based on Unity's tutorial "Survival Shooter"
and is available in the Photon Voice package.
Setup
To try out the PUN Voice demo:
- Download the package from the Asset Store.
- Open the project in Unity and load DemoPunScene.
- Open PhotonServerSettings in Unity Inspector (Menu: "Window" -> "Photon Unity Networking" -> "Highlight Server Settings"):
- Configure PUN: Copy-paste your own Realtime AppId from the Photon Realtime dashboard.
- Configure Voice: Copy-paste your own Voice AppId from the Photon Voice dashboard.
- Build, run and enjoy!
Features
In this section we will talk about the features exposed in the demo.
Multiple Characters
When trying the demo with your friends you will notice that every player will have his own unique character and will be spawned in a random position.
This is handled using CharacterInstantiation class. In OnJoinedRoom callback we choose a prefab based on actor number and randmize spawn position.
Connection and Calibration

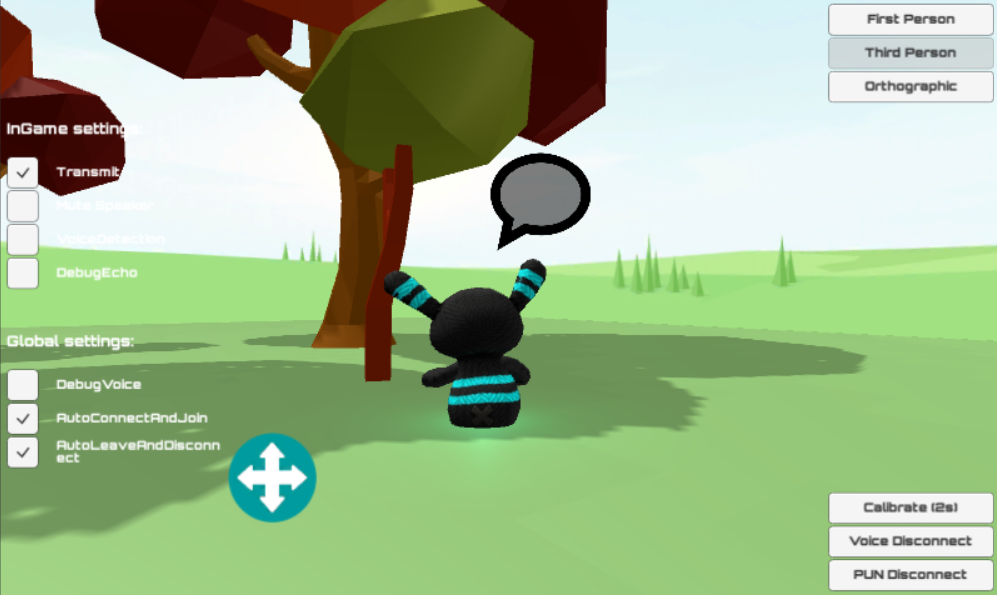
On the bottom right corner, you can find calibration and connection buttons.
The calibration button works only when joined to a voice room and is useful to tune loudness level.
Read more about "calibration".
The other two buttons "connects to" or "disconnects from" PUN or Photon Voice respectively.
Settings
By making some settings easily accesible from the UI,
we want to give you a shortcut to tune up your Photon Voice applications.
In-Game Settings
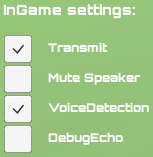
The most important runtime settings for Photon Voice applications are grouped in a single ToggleGroup:
- Transmit: When disabled voice transmission will be switched off. Otherwise, the sound will be recorded locally and transmitted.
- Mute Speaker: This setting does what it says, it mutes speakers by setting volume to zero.
- VoiceDetection: This setting enables or disables Voice Detection feature.
- DebugEcho: This setting is useful when testing Voice applications using a single client. If on, audio stream sent will be sent back to the original sender from the server. To be used for debug purposes only.
Global Settings
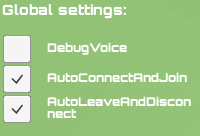
- AutoConnectAndJoin: Automatically joins Photon Voice client to a "voice room" when PUN client is joined to a "PUN room".
- AutoLeaveAndDisconnect: Automatically disconnects Photon Voice client when PUN client is disconnected.
- DebugVoice: Toggles debug mode.
Debug text will appear on top left corner of the screen containing: PUN and Voice applicationsClientState, Microphone device used and some Voice stats.
If on, it also shows Voice speaker lag on top of every "speaking" character.
Highlighting Voice Components
In order to illustrate how the two main Voice components work we used an isometric view that is shown on top of every player.
This view is based on Unity's new UI system in "World Space" mode. It contains 2 icons:
"Speaker" icon
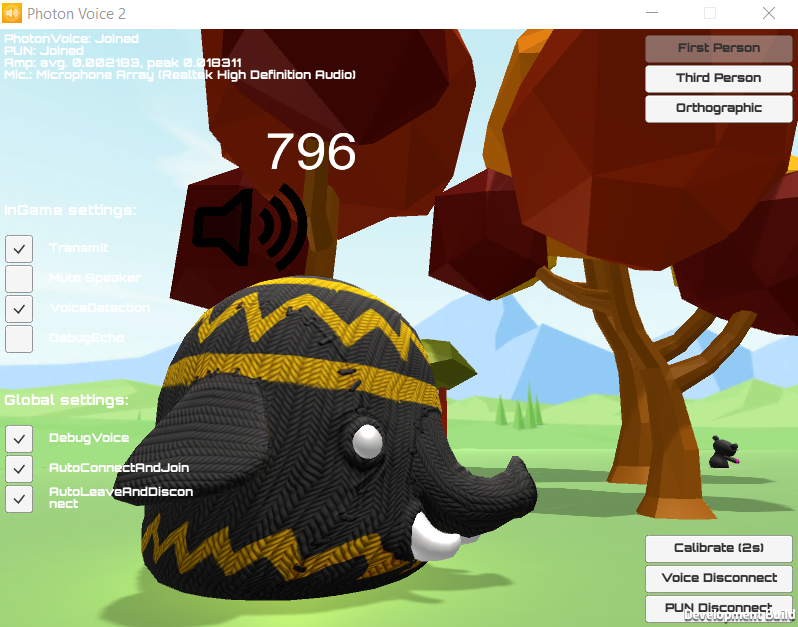
The purpose of this icon is to show when a player's voice is being played.
It is bound to the PhotonVoiceView component.
The image is shown or hidden based on this code:
C#
speakerSprite.enabled = photonVoiceView.IsSpeaking;
Also, when DebugVoice global setting is toggled, a text will start showing up in the same view containing a constantly updated number.
It should inform about the lag in the speaker component. It is enabled or disabled as follows:
C#
bufferLagText.enabled = showSpeakerLag && photonVoiceView.IsSpeaking;
if (bufferLagText.enabled)
{
    bufferLagText.text = string.Format("{0}", photonVoiceView.SpeakerInUse.Lag);
}
"Bubble speech" icon
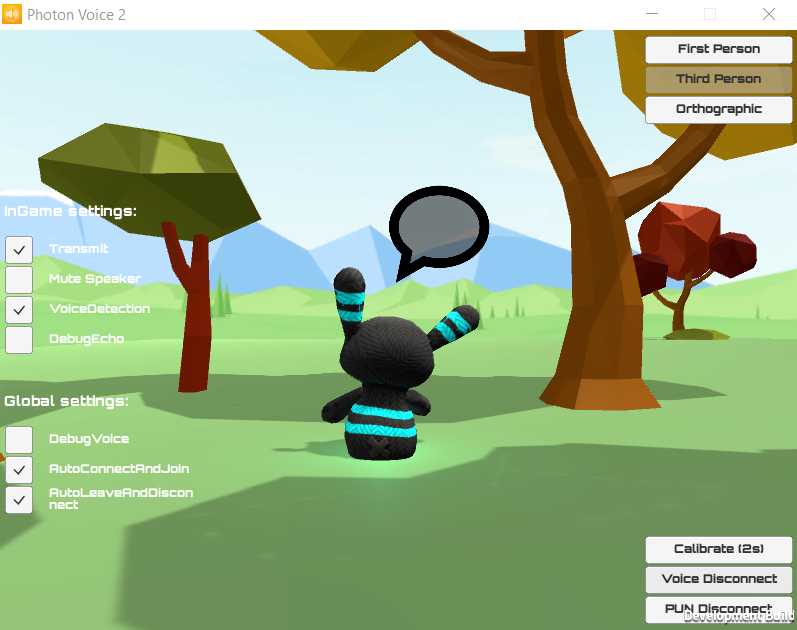
The purpose of this icon is to show when a player's voice is being recorded and transmitted.
It is bound to the PhotonVoiceView component.
The image is shown or hidden based on this code:
C#
recorderSprite.enabled = photonVoiceView.IsRecording;
You can take a look at the "Highlighter.cs" file and class with the same name to know more about this.
Different Cameras
Since Photon Voice can be used in any type of games, AR and VR included, it would help to have a working example showing how good is the 3D sound experience.
For this purpose, we have prepared 3 camera modes:
- "First Person"
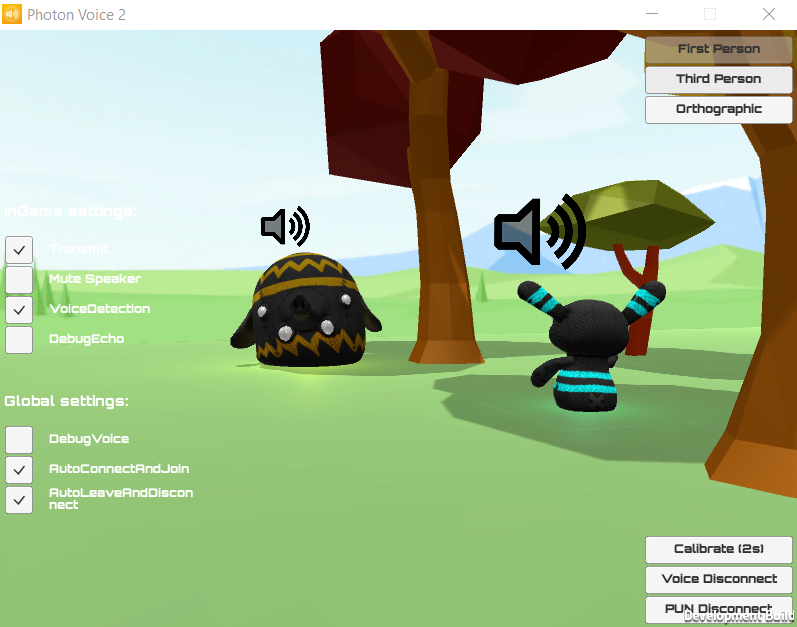
- "Third Person"
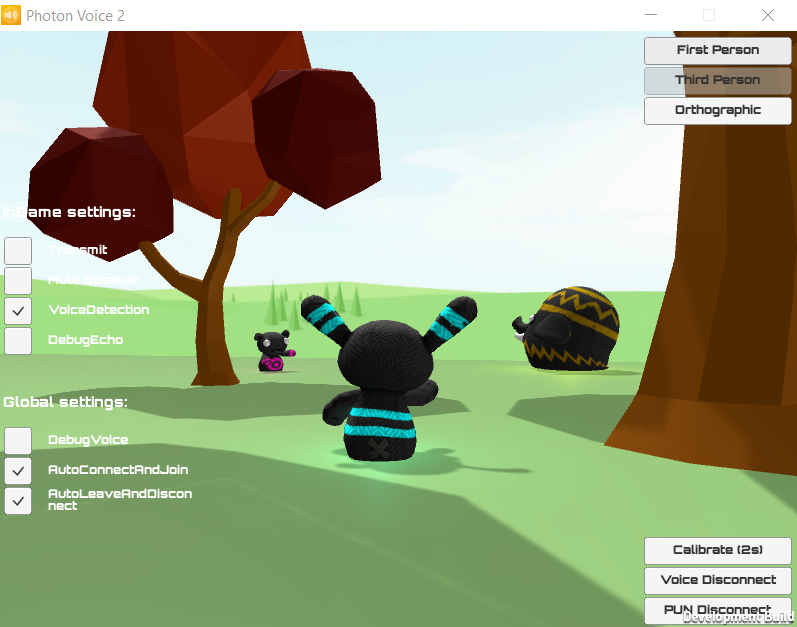
- "Orthographic" (Default)
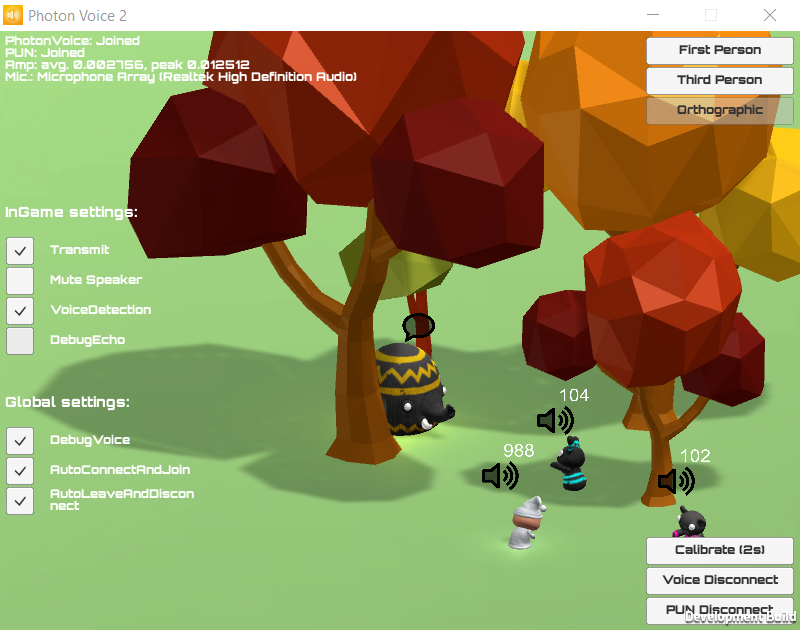
You switch between them freely and seamlessly at any time once you're joined to a room.
Three respective buttons are available on the top right corner of the screen once the player's character is instantiated.
Mobile Joystick
The demo includes support for mobile touch input.
On smartphones or tablets, you can use the joystick UI that comes with the demo which is based on Unity's Standard Assets.
To be able to use this feature you need to enable "Mobile Input" from Unity's menu and switch to a compatible platform in Unity's build settings.
Debug Mode
When the DebugVoice toggle is on, the Debug Mode is enabled.
During this mode, extra information is displayed on the top left corner of the screen which contains:
- State of PUN Client
- State of Voice Client
- Average and peak voice amplitudes
- List of microphone devices available or a warning if none. Generally, most devices contain one microphone.

Sounds
The demo also includes some nice sound effects.
They should inform of room join and leave events.
We hope you like them!