Asteroids Demo
Porting from uNet to PUN
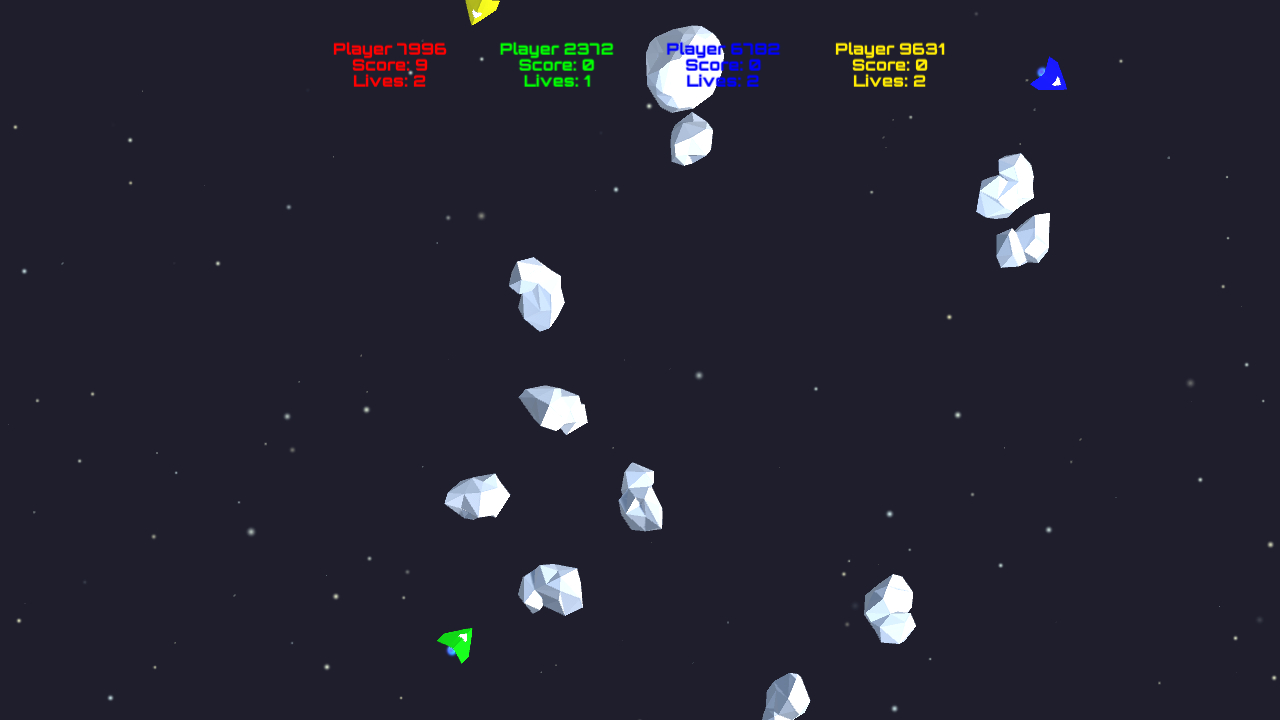
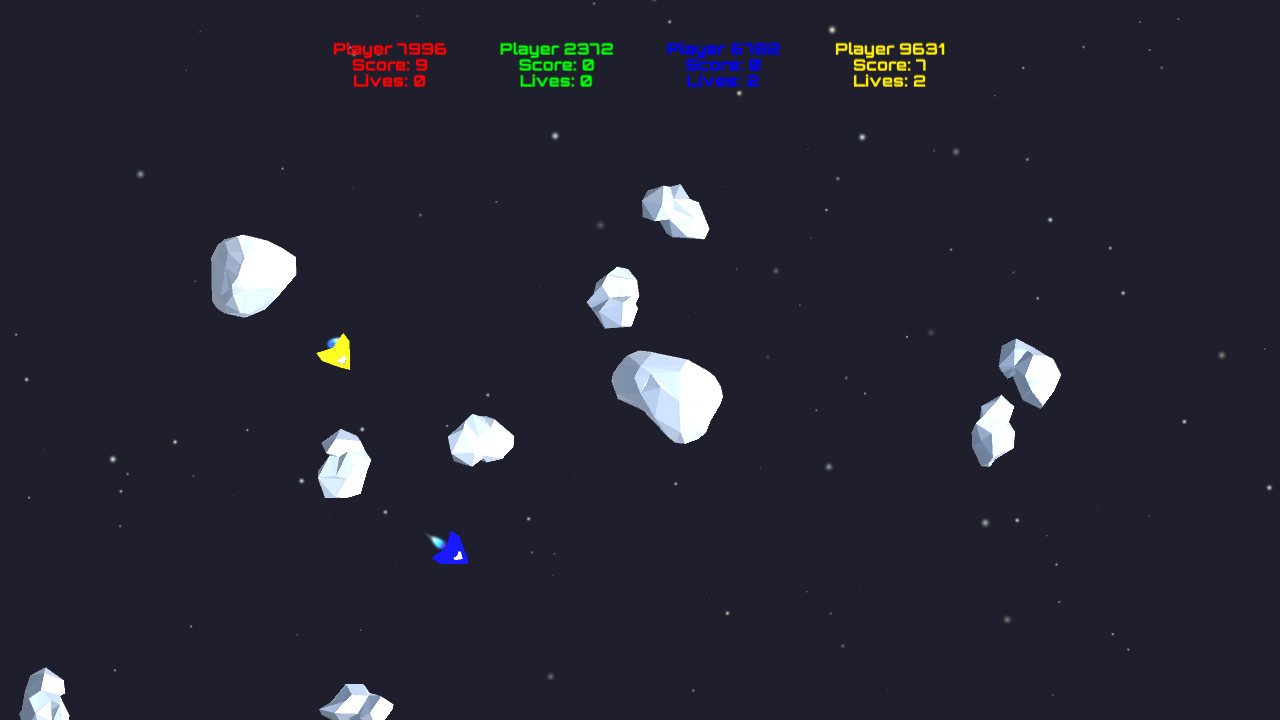
This page describes the porting process from uNet to PUN on the basis of Unity’s NetworkMeteoroid demo which you can check out by following this link to the Asset Store. The page shows some aspects of the process which were quite easy to handle and some other facets that were a bit more complex to handle in order to get convincing results in the end. Therefore the page is subdivided into different sections to cover all necessary and important steps. Those steps are (more or less) sorted by difficulty in ascending order. However following this order is not mandatory for successfully porting your game.

Please also keep in mind that the following description isn’t a general recipe which you can use to port an existing application from uNet to PUN, but it should give you an idea about which steps are necessary and which problems you probably have to deal with.
Reimporting assets, rebuilding prefabs and scenes
When starting to port your existing project from uNet to PUN you can basically use your existing project and replace all of uNET’s network logic with PUN’s one. Since we are working with a demo we are not familiar with, we decided to start with a fresh project and rebuild most parts of the demo. This way we can also show the entire porting process from the very beginning. There actually is no need to do so but this way we were also able to see all differences between the original demo and our ported one - at least in the source code. You might be right when you are thinking that this causes a lot more work than just using the existing NetworkMeteoroid demo, but we would have to do a lot of especially minor work otherwise, too. So we can anticipate that the workload of both ways the porting process can be done is more or less the same for the purpose of this demo. Related to the complexity of your project this experience can definitely change.
To start off we created a new project in Unity and began to (more or less) recreate the folder structure of the original demo and also to reimport necessary assets (models and textures). After this has been done we started to rebuild other required assets, for example materials and prefabs as well as scenes. When especially rebuilding the ‘Lobby’ scene we made sure that we didn’t recreate parts of it that we don’t need later on, for example the Dedicated Server option. We also made sure that its look and feel fits into PUN’s Demo Hub.
Applying minor adjustments to the game logic
When applying modifications to the source code of the application you need a point where to start. In this case we decided to start with the game logic of the NetworkMeteoroid demo - especially because there is not that much to do. Of course we can’t reuse the entire code one-to-one, but we can use the demo’s source code as a pattern and simply apply our modifications to it. Therefore we can either copy the entire code and modify it afterwards or re-write it with applied modifications from the very beginning. For this demo we used a combination of both ways. In the end the game logic itself is most likely the same as in the original demo besides some minor changes especially applied to the network related source code.
One example here is how asteroids are spawned in the original demo. In our modified version it basically works the same way (using a ‘Game Manager’ and a Coroutine that runs as long as the game runs) with some minor adjustments to the network related code to be sure. In this specific example we simply replaced uNet’s instantiation call NetworkServer.Spawn(...) with PUN’s room object instantiation call PhotonNetwork.InstantiateRoomObject(...). Using this call we are allowed to add InstantiationData which we are using to share additional details about the asteroid’s Rigidbody for example. This also has the advantage that we don’t have to use a separate RPC or RaiseEvent call for synchronizing this kind of information.
But there are also parts of the source code which haven’t been modified at all. The way how player input is handled for example is exactly the same as in the original demo because it is already working fine and simply didn’t require any modifications.
Applying major adjustments to the network logic
In this part things are (finally) getting interesting because we have to apply some significant modifications to the demo’s source code in order to replace all of uNet’s network logic with PUN’s one. Reminder: there sadly isn’t a general recipe you can follow when trying to port your existing application from uNet to PUN. So you can’t say in general that a certain uNET attribute ([ClientRpc] for example) can be mapped to a certain PUN attribute (in this example [PunRPC]) all the time because there are either alternative ways to handle something in the network logic or the attribute itself doesn’t exist in PUN at all. This means that you have to think about what modifications you are applying to which segments of the network related source code for every single line of code.
Since we don’t use server-side logic for the purpose of this demo we also had to make another important decision about how to handle the simulation because it is controlled by the server in the original demo. When using PUN without custom server-side logic the only possibility we have is to either use all clients or just one client to handle the simulation. In our case we have chosen the second option and decided to use the MasterClient to run and control the simulation. This means that it is the only client allowed to instantiate asteroids and also handles their collision detection with bullets fired by players’ spaceships. Furthermore those asteroids are instantiated as scene objects which has the benefit that they don’t get destroyed if the MasterClient disconnects while the game is running. Instead the control of the simulation is passed to the new MasterClient as long as there is another client available to take over this role.
Another important aspect of the network logic is the synchronization of the previously mentioned asteroids and the players’ spaceships of course. In order to get convincing results we decided to implement a custom OnPhotonSerializeView function which handles sending and receiving of all necessary data. These includes the Rigidbody’s position, rotation and velocity. With further modifications applied to it, this custom solution has been turned into the new PhotonRigidbodyView component later on.
Solving synchronization issues by adding lag compensation
After having set up the simulation and run it across multiple clients we quickly spotted that we have noticeable synchronization issues which led to visually disappointing results when having at least two game windows run next to each other. An example is the displacement of the spaceship’s position on two different screens. This was caused by lag and led to further problems with the entire synchronization: In some cases a player’s spaceship crashed into an asteroid on one client’s view but not on another client’s view. This furthermore forced the MasterClient (remember that he controls the simulation and the collision detection) sometimes to explode another player’s spaceship because his physics system detected a collision which wasn’t visible on the other client(s) at all. Such issues are deadly for the gameplay of any multiplayer game.
In order to get rid of these synchronization problems we decided to add lag compensation to the asteroids, the spaceships and their fired bullets. In our case lag compensation means that a client who receives information of a synchronized object tries to calculate more accurate and more up to date data with the help of the previously received information. An example: whenever a client receives information of another spaceship, he uses the received position and velocity values as well as the timestamp of the message and his current timestamp to calculate a more up to date position of the other spaceship. Having calculated this more accurate position we are using Unity’s FixedUpdate function to actually move the spaceship step by step closer to it's ‘real’ position - at least to the position we think that this is the object’s ‘real’ position. To make things clear you can take a look at the code snippets below which are showing the implementation of the previously described functionality.
C#
public void OnPhotonSerializeView(PhotonStream stream, PhotonMessageInfo info)
{
   if (stream.IsWriting)
   {
       stream.SendNext(rigidbody.position);
       stream.SendNext(rigidbody.rotation);
       stream.SendNext(rigidbody.velocity);
   }
   else
   {
       networkPosition = (Vector3)stream.ReceiveNext();
       networkRotation = (Quaternion)stream.ReceiveNext();
       rigidbody.velocity = (Vector3)stream.ReceiveNext();

       float lag = Mathf.Abs((float)(PhotonNetwork.Time - info.timestamp));
       networkPosition += (rigidbody.velocity * lag);
   }
}
The owner only sends important information like the position, the rotation and the velocity of the spaceship. The receiver uses this information to update his locally stored values and applies lag compensation to the position...
C#
public void FixedUpdate()
{
   if (!photonView.IsMine)
   {
       rigidbody.position = Vector3.MoveTowards(rigidbody.position, networkPosition, Time.fixedDeltaTime);
       rigidbody.rotation = Quaternion.RotateTowards(rigidbody.rotation, networkRotation, Time.fixedDeltaTime * 100.0f);
   }
}
...before the remote object gets updated with the locally stored data in the FixedUpdate function.
In the end adding lag compensation to the ported demo has made it much better. This includes a convincing visual representation as well as an overall satisfying gameplay with improved network synchronization.
